
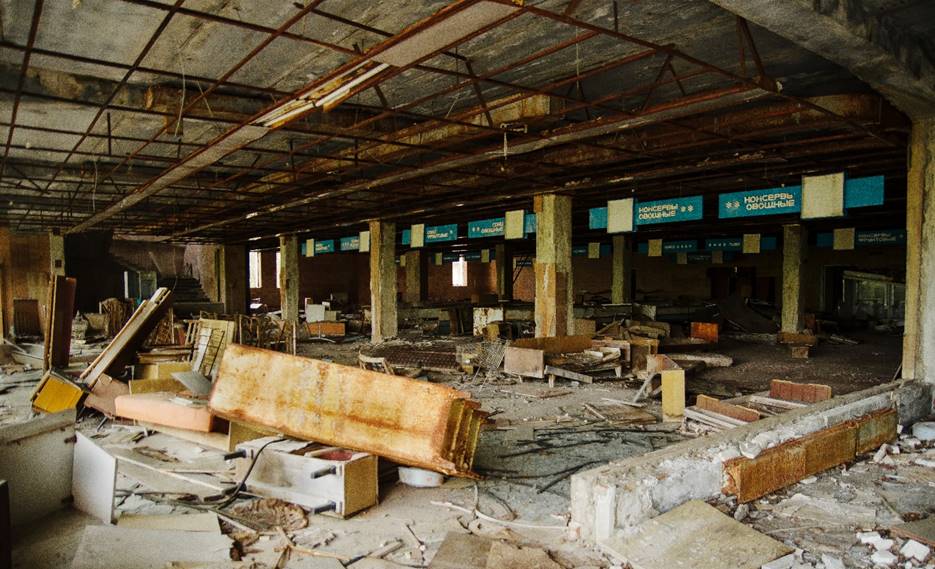
Taking a room down to the studs can be a rewarding and fulfilling experience. But one wrong move can turn a weekend project into a costly emergency. When it comes to home demolition, do not get too excited and go in willy-nilly. Stop, take a breath, and decide a safe course of action. The following guidelines will help you to avoid injury, protecting yourself, your home, and your wallet, while you’re doing it right.
Protective Gear You Must Have
Interior demolition creates sharp edges, flying chips, and fine dust that may remain suspended in the air. Even if you feel like the job is small, dress like it’s not; it is always “quick” jobs that end in accidents. Many injuries from demolition debris removal are totally preventable if only demolitionists had the right protective equipment.
- Hard hat and safety goggles (ANSI rated) to protect your melon from falling plaster and nails.
- P100 or N95 respirator for dust; P100 is better in the event you anticipate lead paint, mold, and generally heavy levels of particulate contamination.
- Cut-resistant gloves and long sleeves to reduce the risk of lacerations.
- Sometimes required hearing protection when using van saws, grinders, or chipping tools.
- Steel toe boots with puncture-resistant soles to protect from stray screws and shards.
- Sturdy knee pads; after all, interior demolition is a ton of crawling around on your knees.
Dress for possible heat, hydration, and visibility; and change out disposable respirator filters when they become filled and clogged. Having the right gear allows you to work longer and safely. Check this site to learn more about safety standards.
Is That Wall Load-Bearing?
Never tear walls down until you determine what they are supporting below or above. A load-bearing wall carries the weight of the floors, roof, and/or beams above. If you pull out a load bearing wall without a proper plan, you risk sagging ceilings, cracked ceilings, stuck doors, or worse catastrophes. Look in the cellar or crawl space for beams or posts that line up with the wall bottom plate. In the attic, look for the direction of the joists. Walls that are perpendicular to the joists are typically structural. Open up a little inspection hole at stud height to confirm the framing and inspect for anything hidden like mechanicals. If you’re not sure, hire a structural engineer to design a header and post system, and specify temporary shoring.
If you’re planning a larger layout change that includes widening an opening which needs new footings, coordinate with an excavation contractor to do the footings as well as drain support pads. And if you’re plotting out interior demolition King of Prussia projects in older homes, expect oddities in framing, and get a professional eye on anything that looks fishy.
Handling Electrical Hazards
Electric lines run through the same studs you want to cut. Assume every cable is live until you’ve locked out power and verified. Don’t trust just labels in the panel; DIY upgrades and renovation projects of old can really make circuits unpredictable.
- Lock out the correct breaker and then use a non-contact voltage tester on every GFCI outlet and every exposed wire in the demolition zone.
- Cap and label every disconnected conductor with the proper wire nuts. Tape is not a safe alternative.
- Install temporary GFCI-protected outlets for your tools and dust extractors.
- Keep cords off the ground, using hooks or stands, if necessary, to prevent cuts from saws and tripping.
- If you are uncertain, especially if dealing with aluminum wiring, knob-and-tube, or overloaded panels, you should call a licensed electrician before proceeding.
Take a deep breath here. Electricity is quiet until it is not.
Dealing With Dust and Mold
Dust management protects your lungs and keeps the rest of the house livable. Seal doorways with zipper barriers, cover supply/return vents, create negative pressure with a box fan in a window blowing out. Score drywall seams and remove sheets by pulling the sheets whole where the seams are scored. Breaking things into little bits creates clouds of dust that you then have to breathe in.
For more guidance, visit this site https://www.epa.gov/mold/brief-guide-mold-moisture-and-your-home.
If you discover something that looks suspect or smells really musty, stop and evaluate. You should wear a P100 respirator. Do not dry scrape and lightly mist the surfaces to ensure spores don’t drift around too much. If there is significant contamination, or you suspect asbestos or lead, then stop the demo and call-in licensed professionals. You’ll save time by preserving your health and letting debris cleanup services handle hazardous conditions safely and correctly under the local rules.
Cleanup After the Demo
Cleaning up a tidy site is a safe site and good tidying motions save you money at the dump. Think about how you will sort and stage materials while you plan your demo (ok, you have already planned the demo, and this is just cleanup—but it might help you to keep a tidy worksite). Keep paths clear so that no one trips while carrying something heavy. Constructing responsibly and disposing of construction waste, along with good post demo site cleanup, keeps you neighbor-friendly and code-compliant.
- Separate drywall, lumber, metal and masonry to dispose or recycle more quickly.
- Sweep with a magnet to pick up nails and screws, then damp mop to capture fine dust.
- Bag drywall in contractor bags (don’t overfill them), and to make them more manageable cut long pieces of lumber.
- Stack trim or salvageable doors (away from the work area) to protect them from damage.
- Book junk hauling service early or reserve a curbside pickup before your garage gets full.
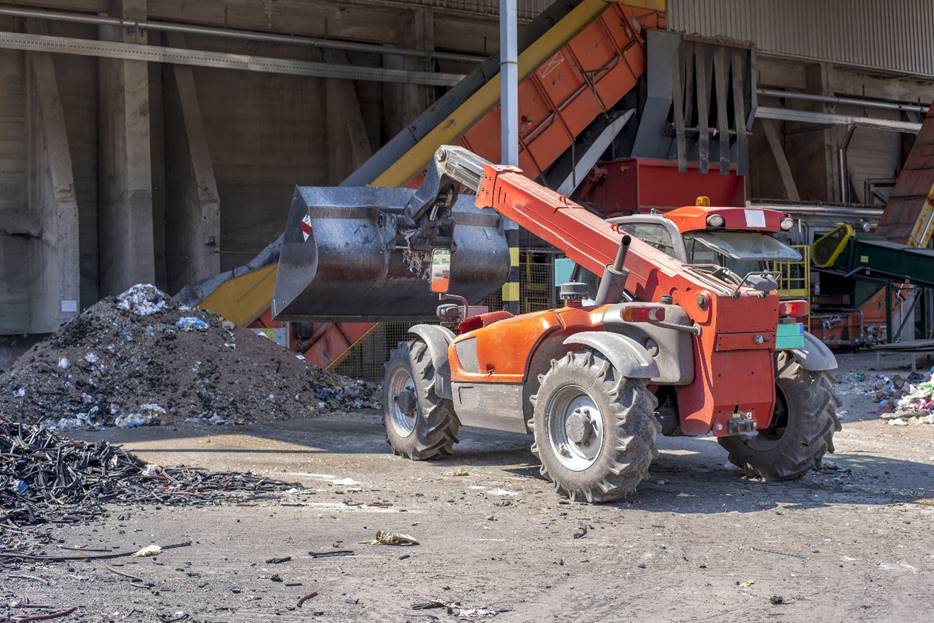
Need a local option to get debris moved quickly or find a drop-off close by? Use the map below to find a trusted provider around King of Prussia to help you haul and dispose of the material and help you complete the job without it piling or sitting in your driveway.
With a solid plan, right equipment for your demo, and a tidy architecture of workflow, you are well on your way to demoing and protecting your home and health. Take the time and minutes to inspect structure and utilities, control dust, and manage and stage waste, then your project will complete with continued safety and professionalism on each step of the way.