
Without a doubt, a roof is the most crucial component of the entire establishment, and when you are getting one installed, you must be very careful about everything. From selecting the right material to hiring the right San Francisco roofing contractor for the task, and understanding all the steps in its installation, it is very important because if you let a single thing go wrong, it can impact its health and affect its longevity.
You will be able to figure out the rest of the things by doing research, but understanding the commercial roof installation doesn’t come easily. We are breaking down the steps one by one for your easy understanding.
Initial Assessment
The first step involved in the commercial roof installation is the initial assessment by checking the condition of the roof. Contractors will look for the potential damage and signs of weakness. This is done to repair the broken parts of the roof before the new installation goes into place. Initial assessments also ensure the time it will take for the installation and the amount of materials.
Choosing the Material
Not every material is ideal for every commercial roof, and many factors come into play, like the weather condition and any common disaster the areas are prone to. Since commercial properties are meant to last for a long time and cost you more than usual, it is important to choose the right material. The roofing contractor will help you get clear about the options you have.
Preparation
Before the actual installation process begins, preparations are done by removing the old roofing without damaging the structure, inspecting if the structure has the strength to bear the load of the new roofing, repairing work, cleaning, drying up, and brining the materials to the site.
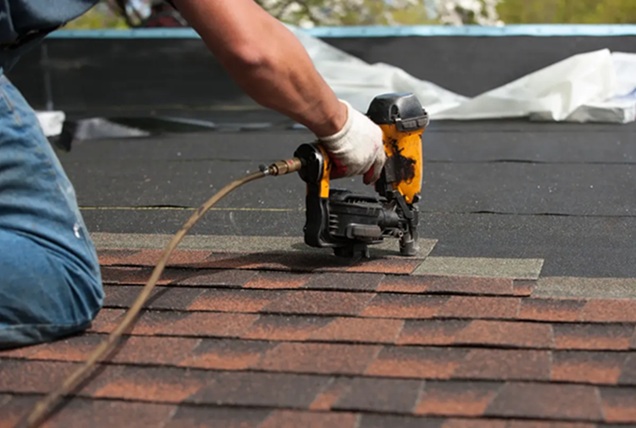
Final Installation
The final installation is done by placing all the components at their place, layer by layer, and a protection is applied on the base of the roof. It is also ensured that there is no scope of moisture to get locked in, followed by applying a coating for energy-efficiency.
After the final installation is done, contractors do the final inspection by looking for any possible holes, water being collected, and other ways. The steps are easy to understand, even as an owner, and once you learn it, you can actively participate with the contactors.